When it comes to picking out your new Ridge Wallet, the big question has never been about whether you want an aluminum, titanium, or carbon fiber wallet, but rather, whether you want to carry your dollar bills in a cash strap or a money clip. Both options have their advantages, and both have their fans, so it’s not always an easy choice. The good news is you have the option to switch between the two.
Sometimes, you need to experience one of them before you know that you want the other. That’s why we’ve made it easy to do replacements, so you can customize your Ridge Wallet to suit your preferences. If you’ve decided that you want to swap out, this handy guide will help you to do so in just a few minutes.
Step #1: Take Out The Screws And Remove Plates
For the sake of simplicity, let’s just assume that you have a cash strap, and you’ve decided to go with a money clip instead.
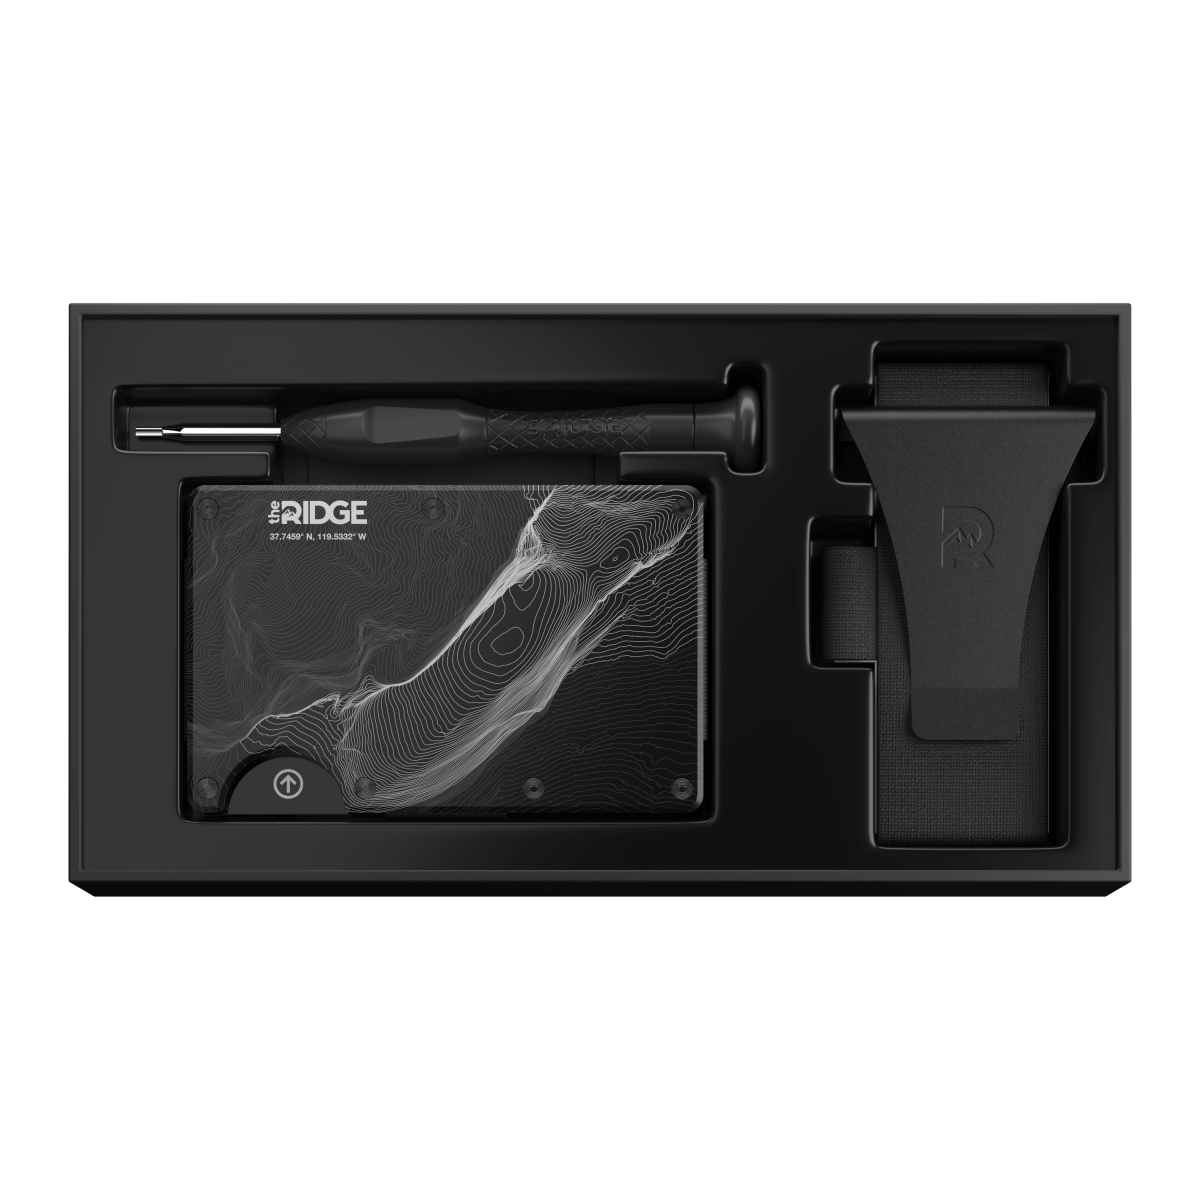
When you first received your Ridge Wallet in the mail, you also received a tiny little T5 torx driver as well. If you ever wondered why we included such a small instrument, well, Jamie Kennedy offered some crazy alternative uses, but it’s really just for handling these super miniature screws.
After you’ve removed the contents of your Ridge, lay it flat on the table. Now go ahead and unscrew all of the tiny little screws on either side. Make sure to place them in a bag, or somewhere safe, so you don’t lose them.
Once you’ve removed the screws and stored them safely, you’ll notice that the metal plates of the wallet is now loose. Go ahead and remove it. This will now expose the plastic plate underneath, which the elastic is attached to.
Step #2: Remove And Replace The Elastic Strap
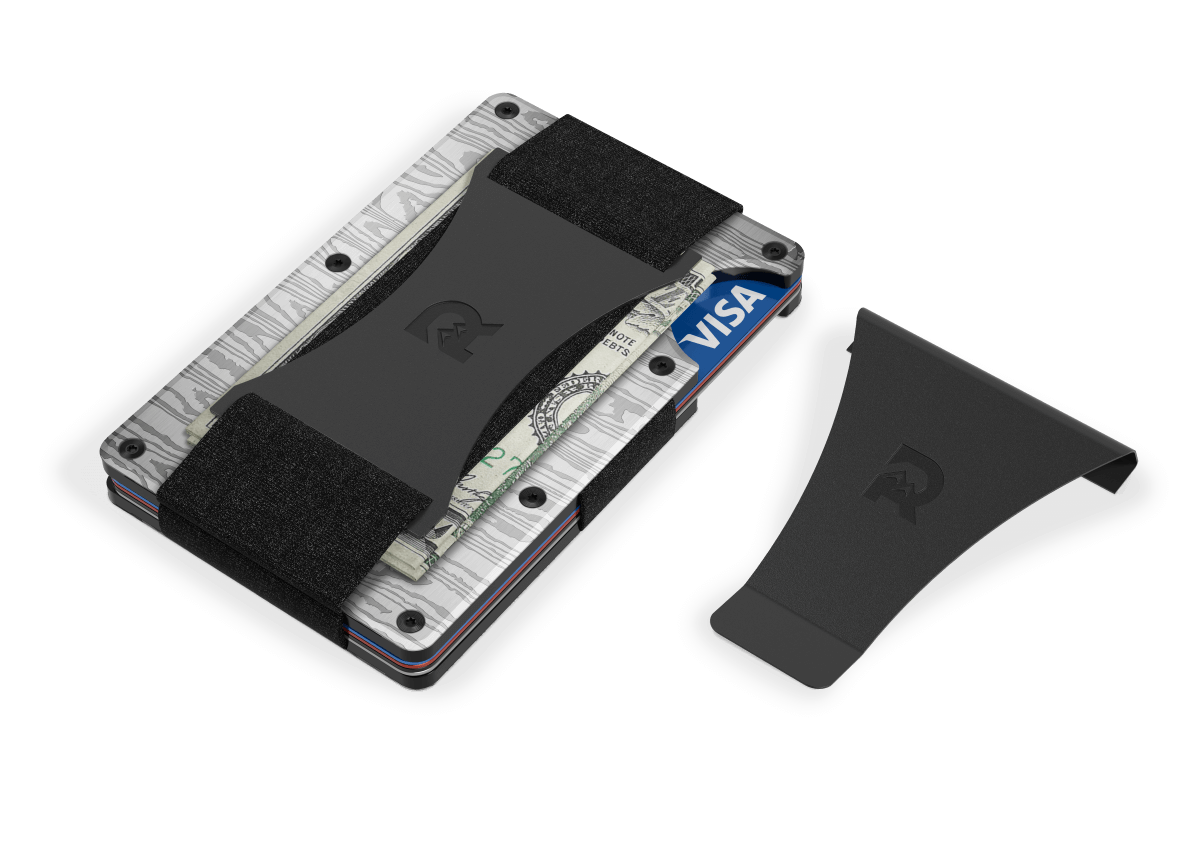
At this point, once the metal plates are removed, you should have two inner plates (this is where the RFID-blocking happens), which the cash strap is wrapped around. This elastic has the strap part attached, which you'll see hanging off from the wallet (pictured above). You'll be replacing this elastic with strap-less elastic you can find here.
Step #3: Put The Metal Plates Back On—Mostly
Now, here’s the part where things get a little trickier. Presuming that you’ve already ordered the money clip piece to replace your cash strap—thinking ahead, right?—you can go ahead and put the metal plates back on, including restoring most of the screws.
Note, that’s MOST of the screws, not all. You can go ahead and return all the screws to the front plate, but on the backplate, only screw in the four screws on the side of the thumb indentation. On the other side, leave those four screws out, so that it’s loose.
Step #4: Slide-In The Money Clip
The idea here, as you can tell, is to leave the non-thumb indented side loose, so that the money clip can slide right in. That’s exactly what you do, at this point. Make sure you slide it right in between the inner (aluminum) and the outer (metal) plates, on the backside of the wallet.
Success!
Congratulations, you’ve successfully made the switch! Don’t worry, though. Even if you find out that you preferred the cash strap, you can always go back. Simply reverse the steps in this process, and you’re good to go.
Pro-tip: There are a few members of our EDC Community group that add the money clip and the cash strap! Twice the function and still a very slim carry. You can get more tips from the EDC group here.

Evan Grimm, Writer
Evan Grimm is a practical writer, blogger, editor, and knowledgeable up-and-coming authority in the outdoor realm. His best-known content is published on Bowhunting.com, The Alaska Frontier, and Exodus Outdoor Gear. He and his family reside in central Alaska, where daily common sense and practicality are necessary. His commercial pilot and aircraft technician certifications make him focus on what is relevant and solidly provable. You will find him writing or proving more content. https://www.evangrimmwriter.com


